 Recently, my social media team asked me to create several vertical videos with captions. Since I can only shoot horizontal video, here’s how I did it using Adobe Premiere Pro 2025.
NOTE: Unlike Final Cut Pro, Premiere extracts the audio from your project and sends it to the cloud for processing. This may, or may not, be an issue for projects that need absolutely security.
There are two types of captions:
Sidecar files can be turned on or off by the viewer. However, the video player needs to support sidecar files. As well, you use sidecar files when you want to support multiple languages; one for each language. The most popular format for social media – and the default setting for Premiere – is SRT, though Premiere supports other options.
The big advantage to burned in titles is that they display exactly the way you designed them and cannot be turned off. These are popular on many videos posted to social media.

Record the video using whatever tools you normally use.
NOTE: In my case, I use a Sony a7II DSLR camera for images, an AKG 520c headset microphone, and capture using Telestream ScreenFlow. ScreenFlow allows me to capture video, audio, and my computer screen in one pass.
I export ProRes 4444 media from ScreenFlow so that the recorded colors precisely match those displayed on my computer screen. (In this case, I’m only using the video, but my export workflow remains the same.)
I import that video into Premiere the same as always and create a new sequence that matches the video (i.e. 1920 x 1080 horizontal ProRes 4444) and edit as normal.
NOTE: You don’t need to use ProRes 4444 – any video format will work. But ProRes 4444 is the most color accurate and integrates imperceptibly with screen shots and other computer graphics. However, it also creates some truly large files.
CONVERT VIDEO FROM HORIZONTAL TO VERTICAL

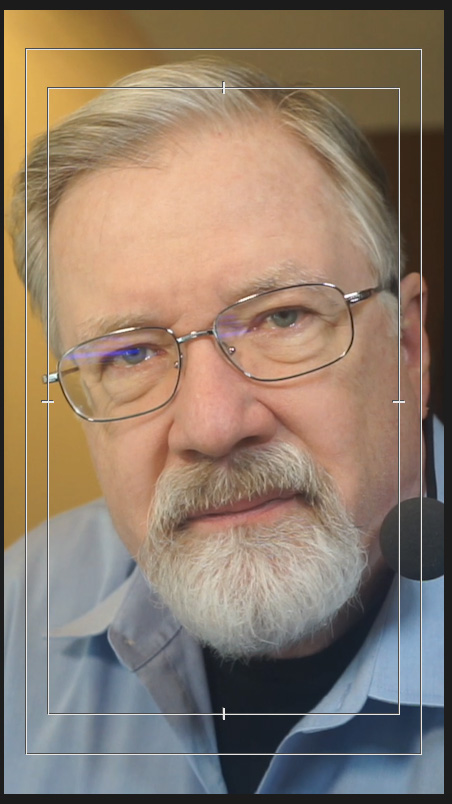
Once the sequence is edited, right-click on the sequence name in the Project panel and choose Auto Reframe Sequence.

In this dialog, set the Target Aspect Ratio. It defaults to vertical 9×16, but you have five options to choose from. For my videos, the defaults are fine.
Click Create and Premiere processes the sequence, with several things happening at once:

Unlike Final Cut, Premiere constantly shifts the position of the subject as they move in the frame. This may or may not be what you want. Also, there is no way to display or modify these adjustment keyframes that Premiere sets.

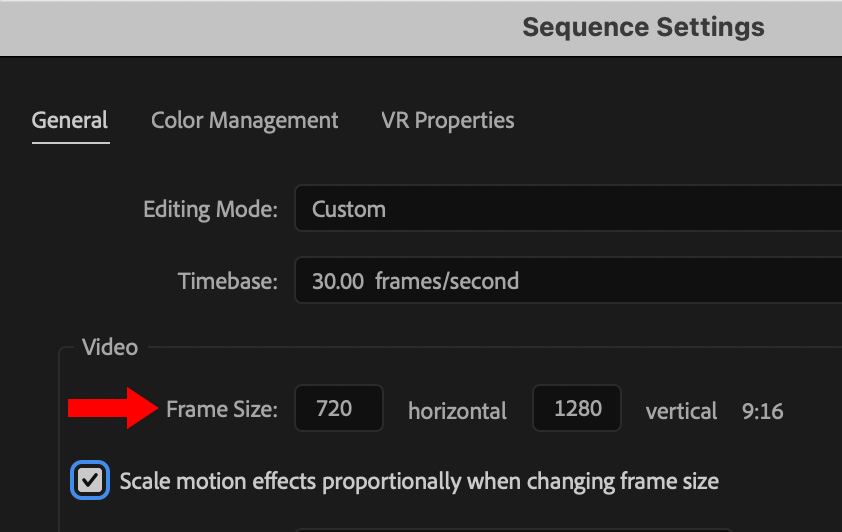
I recommend, for compatibility reasons, to change the sequence frame size to 720 x 1280. This slightly scales the image, but for most purposes won’t be noticed by viewers.
NOTE: The larger the vertical frame size you select, the more likely your video will look blurry as the image is scaled to fit the frame. For best results, if you shoot 1920 x 1080, select 720 x 1280. If you shoot 3840 x 2160, choose 1080 x 1920. Feel free to experiment to see what looks best to you.
If you need to change the framing for a potion of the clip, do so using horizontal Position keyframes in Effect Controls.
NOTE: The entire video frame is still there, which means it is easy to reposition a shot, if needed.
ADD CAPTIONS

Depending upon how you set your transcription preferences (Premiere Pro > Preference > Media Analysis and Transcription), when you are ready to add captions, the sequence is already transcribed.

I don’t worry about correcting transcripts until the project is ready for captions; otherwise I spend all my time correcting text that will never be used.
I have also found it easiest to correct the transcript before captions are created.

Once the main transcript is ready to go, click the Captions button (top left arrow) in the Text panel (or open the Text panel using Window > Text) and click Create captions from transcript.

Normally, I just accept the defaults in this dialog,

…but there are options you can tweak as needed.
Click Create captions when you are ready.
IMPORTANT NOTE: If you are providing a separate caption file, don’t bother formatting captions. Any formats you apply will be overridden by the viewer. However, if you are burning-in captions, which means they are permanently included in the video, you can format these as much as you want.

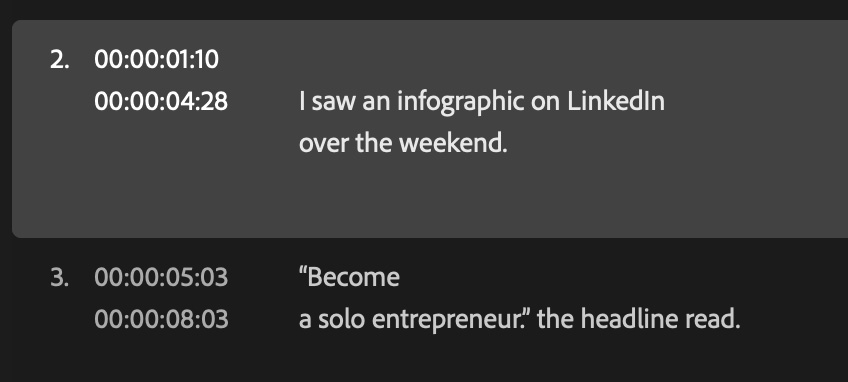
Almost instantly, captions are displayed in the timeline.

Select a caption in the timeline. then edit it as necessary in the Captions window.
If I do a good job proof-reading the transcript, the only editing I need to do once captions are created is adjusting line breaks.
Use the Roll trimming tool to adjust the timing of a caption.
EXPORT OR BURN-IN CAPTIONS

To export a sidecar file, choose File > Export > Captions, then click OK when this dialog appears. Because sidecar captions are formatted by the viewer, don’t both to create or include SRT styling.
Finally, assign a file name and location, and click Save.
To burn-in captions, select File > Export > Media.

On the Export page, under Settings, twirl down Captions and set Export Options to Burn Captions into Video. The rest of the default settings are fine.
Then, export as you would any other video.

Done.
SUMMARY
I found that, regardless of which NLE you use, captions will always need editing for both content and line breaks. Which takes patience and time. However, the process of creating and exporting captions is really, REALLY fast!
2,000 Video Training Titles
Edit smarter with Larry Jordan. Available in our store.
Access over 2,000 on-demand video editing courses. Become a member of our Video Training Library today!
Subscribe to Larry's FREE weekly newsletter and
save 10%
on your first purchase.
LarryJordan.com is owned by Axle.ai
2018-2025 © ALL Rights Reserved.